Shipping Options

View more details in our Shipping Policy

All shipping rate advertisements assume delivery to continental US address, and that the part is in stock and is not oversized.

Shipping rates are per order, not per part!

Standard – $10.99
Estimated arrival
Thursday Mar 21–26
Quicker – $24.99
Estimated arrival
Thursday Mar 21
Quickest – $33.99
Estimated arrival
Wednesday Mar 20

Category Archives: Range/Oven

Ohm’s Law Calculator: A Crucial Tool for Appliance Repair

Ohm’s Law Calculator: A Crucial Tool for Appliance Repair

Ohm’s Law Calculator


Using the Ohm’s Law Calculator

To use the Ohm’s Law Calculator, follow these simple steps:

  1. Enter known values into any two input fields (Voltage, Current, Resistance, or Power).
  2. Optionally, you can select different units from the dropdown menus for each input field.
  3. Click the “Calculate” button to compute the remaining values.
  4. The calculator will automatically calculate and display the missing values based on Ohm’s Law.

For example, if you know the Voltage (V) and Current (I) in a circuit, enter those values into their respective fields, then click “Calculate” to find the Resistance (R) and Power (P). Similarly, you can enter any other combination of two known values to find the remaining two values.

Understanding Ohm’s Law: A Crucial Tool for DIY Appliance Repair

When it comes to DIY appliance repair, having a solid understanding of the fundamentals of electricity is essential. Among these fundamentals, one principle stands out as particularly crucial: Ohm’s Law. Named after the German physicist Georg Simon Ohm, this law forms the backbone of electrical engineering and is indispensable for troubleshooting and repairing a wide range of household appliances, including ranges, ovens, dishwashers, refrigerators, microwaves, washers, and dryers.

What is Ohm’s Law?

At its core, Ohm’s Law describes the relationship between voltage (V), current (I), and resistance (R) in an electrical circuit. It is often summarized by the formula:

V = I × R

Where:

  • V represents voltage, measured in volts (V).
  • I represents current, measured in amperes (A).
  • R represents resistance, measured in ohms (Ω).

In simpler terms, Ohm’s Law tells us that the voltage across a resistor in an electrical circuit is directly proportional to the current flowing through it, and inversely proportional to the resistance of the resistor.

Application in DIY Appliance Repair

Understanding Ohm’s Law can be incredibly beneficial when troubleshooting and repairing household appliances. Here’s how it applies to various scenarios:

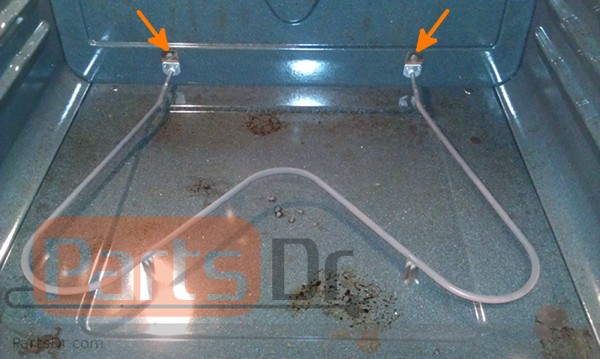
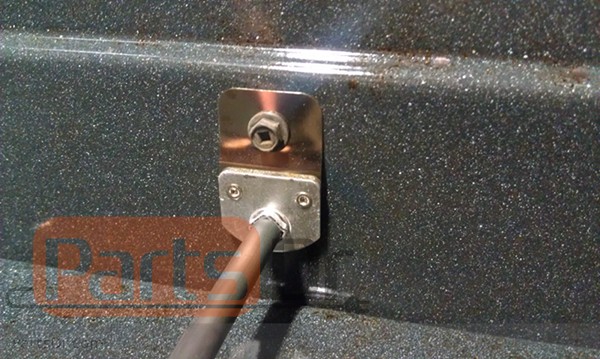
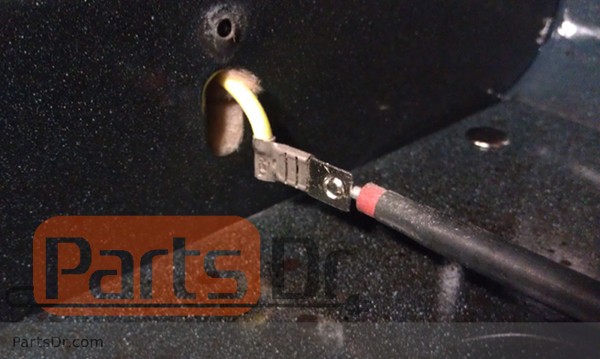
  • Heating Elements in Ranges and Ovens: Heating elements in electric ranges and ovens are essentially resistors that generate heat when current flows through them. By applying Ohm’s Law, you can measure the resistance of a heating element (with the power disconnected) and determine if it is faulty. A significant deviation from the expected resistance indicates a problem with the heating element.
  • Motor Troubleshooting in Dishwashers, Washers, and Dryers: Motors in appliances like dishwashers, washers, and dryers rely on the relationship between voltage, current, and resistance. By measuring these parameters, you can diagnose motor issues such as worn-out brushes, damaged windings, or faulty connections.
  • Compressor Diagnosis in Refrigerators: Refrigerators use compressors to maintain the desired temperature. Ohm’s Law can help diagnose compressor problems by assessing the resistance of the compressor windings. A deviation from the expected resistance values could indicate a compressor issue requiring repair or replacement.
  • Microwave Magnetron Testing: The magnetron in a microwave oven is responsible for generating microwave radiation. Testing the magnetron’s resistance can help determine its health. Ohm’s Law assists in analyzing the relationship between voltage, current, and resistance to identify potential faults.
  • Electrical Safety: Beyond troubleshooting, understanding Ohm’s Law is crucial for ensuring safety during appliance repair. By calculating the expected voltage, current, or resistance in a circuit, you can anticipate potential hazards and take appropriate precautions, such as wearing insulated gloves and disconnecting power sources.

Conclusion

In the realm of appliance repair, Ohm’s Law serves as a powerful tool for diagnosing problems and identifying faulty components. By mastering this fundamental principle, you equip yourself with the knowledge and skills needed to tackle a wide range of appliance issues confidently. Whether you’re dealing with a malfunctioning range, a washer that won’t run, or a refrigerator that won’t cool, Ohm’s Law provides a reliable framework for effective troubleshooting and repair.

Armed with the understanding of Ohm’s Law, both professionals and DIY enthusiasts can embark on appliance repair projects with greater confidence, efficiency, and safety.

How to Use the Serial Number on Your GE Appliance to Determine Its Age

If you’re wondering how old your GE appliance is, you can determine its age by using the serial number. Each GE appliance has a unique serial number that contains information about the appliance, including the month and year of manufacture.

In this post, we’ll walk you through how to decode your GE appliance’s serial number to determine its age. We’ll use the examples from Eric’s video to illustrate the process.

Step 1: Locate your appliance’s model tag

Before you can decode your appliance’s serial number, you’ll need to locate its model tag. The model tag is a small metal or plastic plate that is typically located on the appliance in a safe but easy to find location. If you’re having trouble locating the tag, you can use our model number locator for common tag locations.

Step 2: Determine the month of manufacture

The first character of the serial number indicates the month in which the appliance was manufactured. Use GE’s Appliance Manufacture Date Code Chart to determine the corresponding month. For example, if the first character of your appliance’s serial number is ‘D’, it was manufactured in February.

Step 3: Determine the year of manufacture

The second character of the serial number indicates the years during which the appliance may have been manufactured. Use GE’s Appliance Manufacture Date Code Chart to determine the possible years. For example, if the second character of your appliance’s serial number is ‘R’, it could have been manufactured in 2020, 2008, 1996, 1984, 1972, or 1958.

Step 4: Use the owner’s manual to narrow down the year

To narrow down which year your appliance was manufactured, you’ll need to reference the owner’s manual. Look for a date on the bottom of the first or last page. If you don’t have a physical copy of the manual, you can find a digital version on GE’s website using your appliance’s model number.

Match up the year from the owner’s manual to the closest year in the chart. For example, if the date listed in your owner’s manual is 11-22 and the second character of your appliance’s serial number is ‘R’, the closest year in the chart is 2020. This indicates that your appliance was manufactured in February of 2020.

Examples

Let’s run through a few examples using the information from Eric’s video.

Example 1: GE Microwave

Serial Number: D S

Month: February

Possible Years: 2021, 2009, 1997, 1985, 1973, or 1959

Date Listed in Owner’s Manual: 11-08

Closest Year in Chart: 2009

This indicates that this microwave was manufactured in February of 2009.

Example 2: GE Stove

Serial Number: H A

Month: May

Possible Years: 2013, 2001, 1989, 1977, 1944

Date Listed in Owner’s Manual: 01-09

Closest Year in Chart: 2013

This indicates that this stove was manufactured in May of 2013.

Example 3: Older GE Stove

Serial Number: A H

Month: January

Possible Years: 2017, 2005, 1993, 1981, 1951

Date Listed in Owner’s Manual: 03-93

This indicates that this stove was manufactured in January of 1993.

Conclusion

Decoding your GE appliance’s serial number is a simple process that can help you determine its age. By using GE’s Appliance Manufacture Date Code Chart and the information from your appliance’s model tag and owner’s manual, you can easily determine when your appliance was made.

Frigidaire/Kenmore Range F11 Error Code Beeping

Video Transcript:

Hey what’s up guys its Ryan here with Parts Dr today and were back with another video. Here I’ve got a control board that a customer sent back to me. This is an interesting one the customer was getting an F11 error code on the display on the control board. If you’re not already familiar with that error code it means that the control board is sensing a stuck or shorted key on the touch membrane. The interesting thing with this one is when I was looking over the buttons on it is that they all look very similar except for this one over here in the bottom corner. And if we zoom in on it real close here you can that it looks like there is some sort of metal or corrosion that is causing this part of the metal to touch this part of the metal, which would be shorting out this key making it think that it is being pressed all of the time. If anyone has any idea of what might be causing this please leave us a comment below letting us know. I’m not sure if it’s moisture, or if it’s a problem with someone pressing the buttons too hard that is wearing and rubbing on this. Now one thing to note is the one that we are looking at here I have the overlay already removed off the front of it. Normally when this is sitting on your stove and installed into your stove your going to see the overlay faceplate which labels all of the buttons. So you would have your numbers over here and your bake and broil, clock, time, up and down arrows things like that. We have that removed just so we can show you what it looks like underneath of that. Now if you do have an F11 error code this piece on the front here is kind of like a sticker also this switch membrane and it is something that you could remove off of here. Unfortunately, the manufacture doesn’t sell this piece separate from the control board. So if you have one of these that is bad you have to replace the whole control board as an assembly. If you need to order one of these you can check out our website partsdr.com we will leave a link in the description below. There’s quite a few of these control boards and they all look very physically similar from the outside so make sure before you order one that you go on our website and search with the model number from your range or oven to make sure that you are ordering the correct one before you place an order. If this video help you out at all please hit the thumbs up button below. And you can also subscribe to our Youtube channel for more appliance repair videos. And if this video helped you fix the problem with your range or oven please just drop us a comment in the comments section below. We love to know when we’ve helped someone out fix their appliance. Thanks have a nice day!

Who Made My Sears Kenmore Appliance

Kenmore is a popular appliance brand sold by Sears.  Sears does not manufacture any of the appliances themselves, instead they source that out and have other manufacturers make their appliances for them.  You can easily decode the model number of the appliance to tell you who made your Kenmore appliance.

The first three digits in a Kenmore model can will tell you who manufactured the appliance for Sears.  For example model number 110.45862400, the first three digits are 110 so that would tell you that Whirlpool manufactured the appliance.  Some of the more common appliance manufacturers Sears uses is Whirlpool, Frigidaire, LG, and GE. If you are looking for parts for your Kenmore appliance your can search for the model number in the search box at the top of the page.

Prefix Manufacturer Prefix Manufacturer
103 Roper 629 Jenn Air
106 Whirlpool 647 Roper
110 Whirlpool 651 Speed Queen
119 Frigidaire 664 Whirlpool
143 SFS Corp. (Sanyo/Fisher) 665 Whirlpool
144 Trane 666 KitchenAid
155 Preway 683 Philco
174 Caloric 719 Tappan (Frigidaire)
175 In-Sink-Erator 721 Goldstar (LG Electronics)
198 Whirlpool 747 Litton
233 Broan 757 Marvel, Imperial
253 Gibson (Frigidaire) 789 Defience
274 RCA 790 WCI (Frigidaire)
278 Roper 791 Tappan (Frigidaire)
292 Lennox 795 LG ( Refrigerators )
335 Amana 796 LG (Laundry)
336 Electrolux 835 Roper
342 York 840 Friedrich
362 GE 850 Whirlpool (Chambers)
363 GE 867 Keeprite
401 Samsung 879 Rheem/Ruud
416 Carrier 911 Roper
417 Kelvinator (Frigidaire) 917 Roper (Whirlpool)
464 GE 925 Maycor (Maytag)
473 Hoover 934 Hitachi
484 Fedders, Whirlpool 960 Caloric
562 Toshiba 970 Frigidaire
564 Sanyo C106. Inglis
565 Sanyo C110. Inglis
566 Sanyo C362. Camco
568 Panisonic C363. Camco
575 Sharp C646. Admiral (Inglis)
580 Goldstar (LG Electronics) C675. Woods
586 Panisonic C880. Admiral (Inglis)
587 DM (Frigidaire) C933. Kelvinator (Before 1970)
596 Amana C938. Keeprite
622 Kelvinator (Frigidaire) C970. Kelvinator (1970+)
628 Kelvinator (Frigidaire) C978. Camco

How To Replace Frigidaire 316075103 Bake Element

Posted on July 14, 2014

Replacing the bake heating element on your Frigidaire built range is very easy.  In most cases, it should only take about 10 minutes.  The most common element used in Frigidaire ovens is part number 316075103.  This is the newest version of this element, some of the older part numbers for this element were 316075104 and 316075102, but they have been replaced with the newer 316075103 part number.

Note – This element is made by Frigidaire, but it may also found in these other brands:  Admiral, Crosley, Gibson, Kelvinator, Kenmore, Montgomery Wards, Tappan, White Westinghouse

Here is how to replace the 316075103 in your range:

First, before working on the stove, make sure it is unplugged.

Next, open the door and remove both of the oven racks.

Now remove the two 1/4″ hex head mounting screws on the back oven wall using a 1/4″ nut driver or socket.
316075104installation

Here is a closeup of the 1/4″ mounting screw.
316075104installation_2
Now carefully pull the element out of the back of the range.  Make sure the wires do not catch on anything and become disconnected.  There is not much extra wire, only about 1-2″.
316075104installation_3
With the element pulled out, carefully disconnect the spade terminals from the element.
316075104installation_4

Reinstall the new heating element in the reverse order.

If your heating element is burned out and you need to order a new one, click the link below:

Frigidaire Bake Heating Element – 316075103 (PD00046042)

How To Test Oven Temperature Sensor

Posted on July 6, 2011

Testing the temperature sensor probe on your oven is easy.  With the sensor at room temperature, measure the resistance between the two prongs at the end of the sensor connector.  The resistance of the sensor should read approximately 1080 – 1090 ohms at room temperature.  If you get a reading that is far off from that, you will need to replace the sensor.  The oven temperature sensor sends the temperature reading to the control board so the control board knows how hot to heat up the oven.  This test works for most common temperature sensors.

See the chart below for more temperature and resistance values.

If you find that you have a bad oven temperature sensor, you can search with the model number from your range/oven at the top of this page to find the correct oven temperature sensor for your model.  Click here for common locations to find your model number tag.

Whirlpool Appliance Age – Serial Number Decoder

Posted on July 2, 2011

In order to find the age of a Whirlpool built appliance you will need the serial number from the appliance.  Since Whirlpool manufactures appliances under many different names, this may work with some of these brand names also:

Whirlpool, Kenmore (Sears), Maytag (Newer models), Kitchen Aid, Estate, Inglis, Roper, Amana, Jenn Air, Crosley and more.

Please do not contact our company for assistance trying to determine the age of your appliance as we will be unable to help.  If the information on this page does not answer your question please contact the manufacture directly for futher assistance.

Serial Number Example:

CR3949348

1st Digit: Where the appliance was manufactured. C = Clyde, OH.

2nd Digit: Year Manufactured.  R = 2004

3rd & 4th Digit: Week the appliance was manufactured.  39 = 39th week of the year.

5th-9th Digit: Manufacture order that week

See the charts below for the year codes:

Whirlpool Model Number Codes
A letter in the model number indicates the year the model was introduced. Please note that the year the model was introduced to NOT indicate the production date. For models 1981 and older you will reference the 2nd character in the model number, and on models produced after 1981 you will reference the 8th character in the model number. Please reference the charts below for the year codes:

Parts Dr

Our customers matter a lot to us! So we provide YOU with as much information on repairing your appliance as possible. And its all FREE!

Categories

Locate Model Number

Choose your appliance type